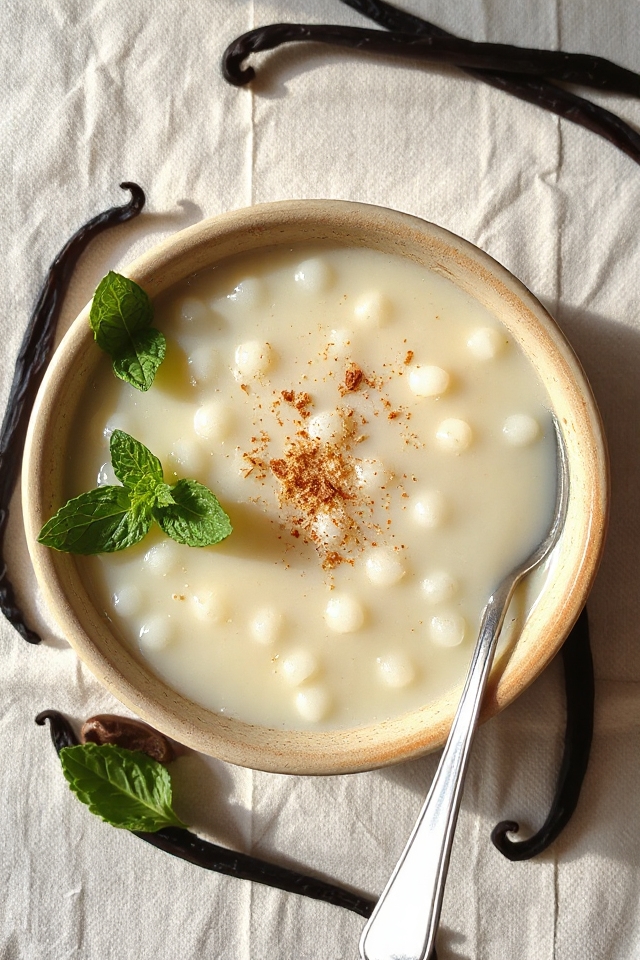
Why Homemade Tapioca Pudding Is a Great Healthy Dessert
Although many desserts can be loaded with sugar and artificial ingredients, homemade tapioca pudding stands out as a wholesome option.
I love how it’s made from simple, natural components, allowing me to control what goes into my dessert. Tapioca itself is a gluten-free starch, making it suitable for those with dietary restrictions.
Plus, when I prepare it at home, I can adjust the sweetness to my taste without sacrificing flavor. The creamy texture and comforting vanilla notes make it a satisfying treat, reminding me of childhood indulgences.
It’s a dessert that feels good to eat and share, nourishing both body and soul.
Ingredients of Homemade Tapioca Pudding
When it comes to making homemade tapioca pudding, the first step is gathering all your ingredients. This is super important because once you start cooking, you don’t want to be running around the kitchen like a headless chicken looking for stuff. Trust me, I’ve been there.
So, let’s make sure you’ve got everything you need to whip up a creamy, dreamy dessert that’s sure to take you back to childhood.
Here’s what you’ll need for this delightful treat:
- 1/2 cup small pearl tapioca
- 2 cups water (for soaking the tapioca)
- 2 1/2 cups milk (whole milk works wonders for creaminess)
- 1/4 teaspoon salt (just a pinch to enhance the flavors)
- 1/2 cup sugar (adjust to sweeten your life)
- 2 egg yolks (hello, rich texture)
- 2 egg whites (stiffly beaten for that airy finish)
- 1 teaspoon vanilla extract (the star of the show)
Now, let’s chat a bit about these ingredients. The tapioca pearls are the star of the pudding, providing that unique chewy texture. Make sure to use small pearls; they’re easier to work with and give you the perfect pudding experience.
And don’t skimp on the vanilla extract; it adds that warm, comforting aroma that makes your kitchen smell like a bakery.
Oh, and the milk? Go for whole milk for a richer flavor, but if you’re watching calories, you can tweak it with a lower-fat option. Just remember, the creaminess is part of the charm.
Whether you decide to enjoy it warm or chilled, this pudding is bound to bring a smile to your face—just like it did when you were a kid.
How to Make Homemade Tapioca Pudding
Making homemade tapioca pudding is a delightful journey that starts with just a little patience and a few simple steps. First off, you’ll need to grab your 1/2 cup of small pearl tapioca and soak it in 2 cups of water for about 8 hours, or overnight if you can. This soaking is essential because it allows the tapioca pearls to plump up, giving your pudding that signature chewy texture.
I often find myself impatiently peeking at the pearls, wondering if they’re ready, but just resist that urge. Trust the process; good things come to those who wait.
Once your tapioca has soaked and is ready to go, drain the water and move on to the creamy magic. In a double boiler, warm up 2 1/2 cups of milk—remember, no one likes a cold pudding. Stir in 1/4 teaspoon of salt and the drained tapioca. Keep an eye on it as you heat it gently until those tiny bubbles start popping up around the edges. This is where the magic begins.
Cover it up, turn the heat down to low, and give it about an hour to slowly thicken. Just don’t walk away entirely; you want to keep it from boiling, which can turn your creamy dream into a curdled nightmare.
Now, while that’s happening, grab a medium mixing bowl and whisk together 1/2 cup of sugar and 2 egg yolks until they’re light and fluffy—this step is all about creating that rich texture.
Here comes the tricky part: slowly add a bit of the hot milk mixture into the egg yolks while whisking. This helps temper the eggs, preventing them from scrambling. Once that’s done, pour the egg yolk mixture back into the double boiler, stirring constantly until the mixture thickens up, which should take about 15 minutes.
Finally, gently fold in those 2 stiffly beaten egg whites and stir in 1 teaspoon of vanilla extract. The result? A creamy, dreamy pudding that you can serve warm or chilled. It’s like a hug in a bowl, reminding you of simpler times.
Homemade Tapioca Pudding Substitutions & Variations
If you’re looking to mix things up with your homemade tapioca pudding, there are plenty of substitutions and variations to explore.
For a richer flavor, try using coconut milk instead of regular milk. You can also swap in different sweeteners, like honey or maple syrup, for a unique taste.
Want to add some fruit? Chopped bananas or berries can bring a fresh twist.
If you’re feeling adventurous, consider adding a pinch of cinnamon or nutmeg for warmth.
And don’t forget, you can experiment with different extracts—almond or hazelnut can be delightful!
The possibilities are endless!
What to Serve with Homemade Tapioca Pudding
To elevate your homemade tapioca pudding experience, consider pairing it with complementary flavors and textures. Fresh fruits like sliced strawberries, blueberries, or mango add a burst of color and natural sweetness.
For a delightful crunch, sprinkle some toasted coconut or crushed nuts on top. You might also drizzle a bit of caramel or chocolate sauce for an indulgent twist.
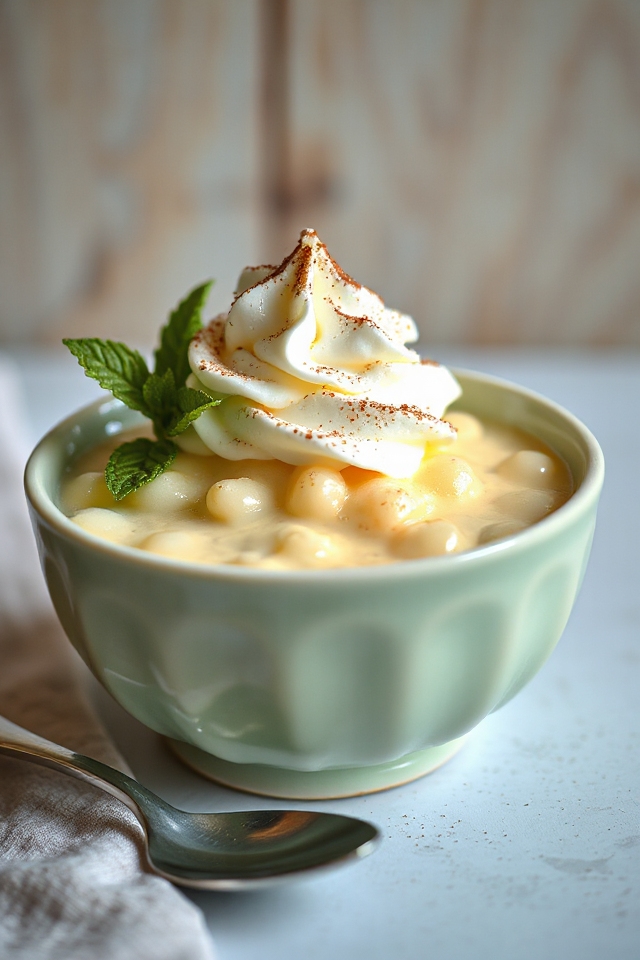
If you love a hint of spice, a dash of cinnamon or nutmeg can enhance the flavor. Finally, serving it alongside a dollop of whipped cream offers a creamy contrast that’s simply irresistible.
Enjoy experimenting to find your perfect combination!
Additional Tips & Notes
Pairing your homemade tapioca pudding with fresh fruits and toppings can enhance its flavor, but there are some additional tips that can elevate your dish even further.
For a richer taste, consider using whole milk or even adding a splash of cream. If you want a hint of warmth, a pinch of cinnamon or nutmeg can work wonders.
Don’t hesitate to experiment with flavored extracts, like almond or coconut, for a unique twist.
Finally, remember to chill your pudding well before serving; it helps the flavors meld beautifully.
Enjoy the creamy texture with these simple adjustments!