Why Yogurt Popsicles Is a Great Healthy Dessert
When I think about healthy desserts, yogurt popsicles immediately come to mind. They’re not just delicious; they’re also packed with nutrients.
I love how creamy and satisfying they are, making them a perfect treat without the guilt. Since they’re made with yogurt, I get a good dose of protein and probiotics, which are great for my gut health.
Plus, I can easily customize them with different flavors and fruit combinations. On hot days, they’re invigorating and cool, satisfying my sweet tooth while still being nutritious.
Honestly, yogurt popsicles are my go-to for a guilt-free dessert indulgence!
Ingredients of Yogurt Popsicles
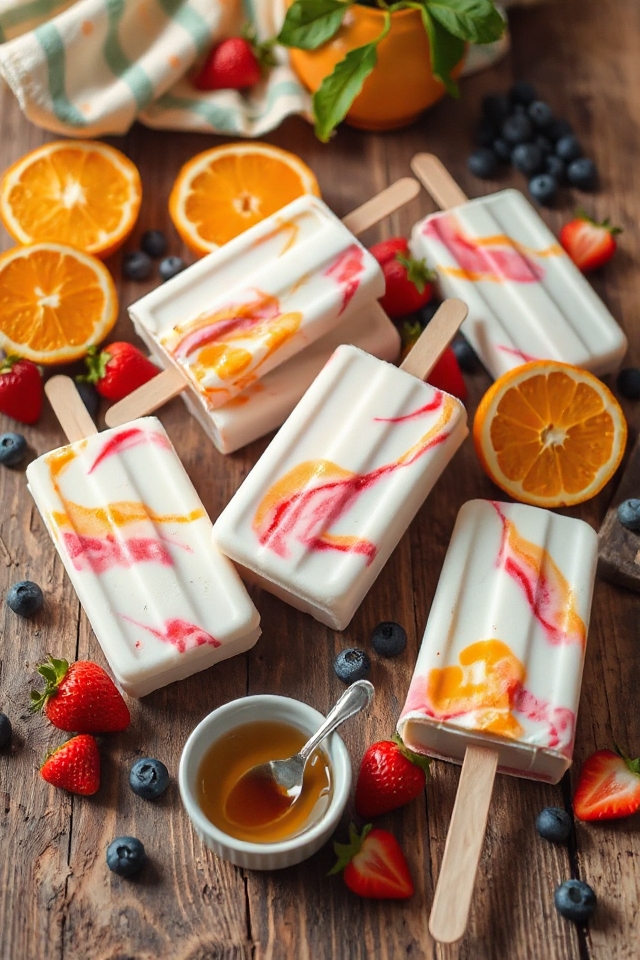
When it comes to making yogurt popsicles, the ingredients are simple yet delightful. You only need a few items to whip up this creamy treat that’s perfect for hot summer days or when you just need a little something sweet.
Seriously, if you’ve got yogurt and juice concentrate, you’re already halfway there! Plus, it’s a breeze to customize these popsicles with whatever flavors you fancy. Let’s plunge into what you’ll need to create your own batch of these invigorating snacks!
Ingredients:
- 2 cups plain yogurt
- 1 (6 ounce) can frozen juice concentrate
- 2 tablespoons vanilla
Now, let’s chat about these ingredients for a moment. First off, the plain yogurt is where the magic happens. It brings in that creamy texture and loads of protein, which is great if you’re looking for a healthy treat.
You could use Greek yogurt if you want an extra protein punch—just saying! The frozen juice concentrate? It’s like the flavor fairy dust that transforms your plain yogurt into something truly special.
Feel free to experiment with different juice flavors—berry, orange, or even tropical blends, if you’re feeling adventurous. Just keep in mind that the sweetness of the juice will affect the overall flavor, so choose according to your taste buds.
And oh, that splash of vanilla? It just ties everything together beautifully, adding a warm, comforting note.
How to Make Yogurt Popsicles
So, you’re ready to make some deliciously creamy yogurt popsicles? Great choice! It’s a super simple process that will have you feeling like a kitchen whiz in no time.
First things first, grab your 2 cups of plain yogurt and toss it into a mixing bowl. You can go for regular yogurt or Greek if you’re feeling fancy—Greek yogurt will give your popsicles an extra creamy texture, which is always a win in my book.
Then, take that 6-ounce can of frozen juice concentrate and add it right into the bowl. This is where the magic starts to happen. The juice concentrate not only adds sweetness but also gives your popsicles a burst of flavor. Just imagine all the fruity goodness that’s about to grace your taste buds.
Once you’ve got your yogurt and juice concentrate mingling in the bowl, it’s time to add a little 2 tablespoons of vanilla. This ingredient is like the cherry on top; it really elevates the whole thing.
Now, give everything a good stir. You want to mix until it’s nice and smooth, without any clumps hanging around. Trust me, no one wants a clump of yogurt in their popsicle.
After everything is combined, it’s time to get creative! You can pour this delightful mixture into small cups or molds, but don’t forget to insert sticks in the middle. If you don’t have popsicle sticks, I’ve been known to use whatever I’ve on hand—like the odd coffee stirrer or even a chopstick. Just make sure they’re sturdy enough to hold up to the freezing process.
Now, here comes the hardest part—waiting. Place your filled cups in the freezer and let them chill for at least 4 to 6 hours. I know, it feels like an eternity, especially when you can almost taste the creamy goodness. But trust me, it’ll be worth it.
Once fully frozen, gently pull them out of the molds, and if they’re a bit stubborn, you can run some warm water over the outside of the cups to help loosen them up.
And there you have it, your very own yogurt popsicles ready to be devoured. Enjoy the revitalizing bliss, and maybe, just maybe, share a few with friends. But I won’t judge if you decide to keep them all to yourself.
Yogurt Popsicles Substitutions & Variations
Yogurt popsicles are incredibly versatile, and there are countless ways to customize them to suit your taste. I love experimenting with different yogurt types, like Greek or coconut, for unique flavors.
You can swap out the juice concentrate for fresh fruit purees or even chocolate syrup for a twist. Adding a handful of berries or nuts before freezing can provide delightful textures.
If you’re looking for sweetness without the concentrate, try honey or maple syrup. You can also mix in spices like cinnamon or vanilla extract for an extra flavor kick.
The possibilities are endless! Enjoy creating your perfect popsicle!
What to Serve with Yogurt Popsicles
After you’ve whipped up a batch of delicious yogurt popsicles, you might wonder what to serve alongside them to enhance the experience.
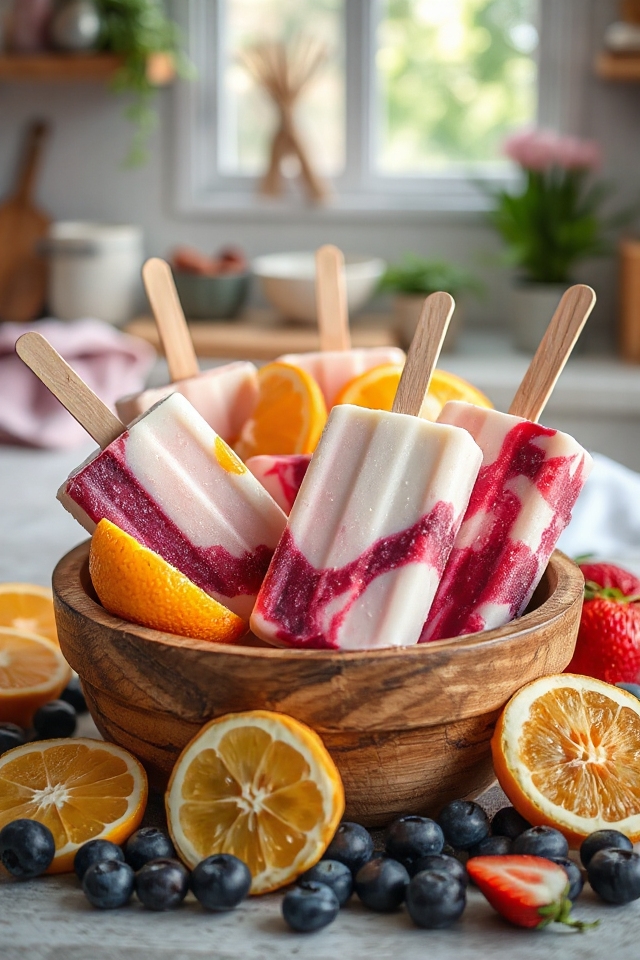
I love pairing my popsicles with fresh fruit like strawberries, blueberries, or sliced bananas. They add a nice contrast and zest.
For a little crunch, you can serve them with granola or crushed nuts, which also complement the creaminess.
If you’re feeling adventurous, a drizzle of honey or chocolate sauce makes for a delightful touch.
Finally, a rejuvenating glass of lemonade or iced tea is perfect to wash it all down.
Enjoy your treat to the fullest!
Additional Tips & Notes
When you’re making yogurt popsicles, it’s helpful to remember a few tips that can elevate your treats.
First, experiment with different juice concentrates for unique flavors—berry blends are my favorite! If you want extra creaminess, try adding a tablespoon of honey or maple syrup.
For a fun twist, mix in chopped fruits or nuts before freezing. Don’t forget to let the popsicles sit at room temperature for a few minutes before trying to remove them; it makes the process easier.
Finally, store any extras in a sealed container to keep them fresh and ready for your next craving!