Why Ice Cream in a Bag Is a Great Healthy Dessert
When I think about a healthier dessert, ice cream in a bag immediately comes to mind. It’s a fun and engaging way to create something delicious without relying on store-bought options packed with preservatives.
I love knowing exactly what goes into it, allowing me to control the ingredients and sugar content. Plus, it’s perfect for serving up a quick treat for family or friends.
The best part? I can customize flavors to suit my mood or dietary preferences.
Whenever I crave something sweet, this easy method satisfies my cravings while keeping things relatively healthy. It’s a win-win!
Ingredients of Ice Cream in a Bag
When it comes to whipping up a delightful treat at home, nothing beats the simplicity of ice cream in a bag. Seriously, there’s something magical about shaking a bag and watching it transform into a creamy dessert. It’s like a science experiment that you can eat!
The best part? You only need a handful of ingredients to create your very own ice cream masterpiece. Let’s plunge into the must-have ingredients you’ll need for this fun project.
Here’s what you need to make ice cream in a bag:
- 1/2 cup heavy cream or whipping cream
- 1 tablespoon sugar
- 1/4 teaspoon vanilla extract
- 3 cups ice cubes
- 1/3 cup salt (rock salt works best)
- 1 quart Ziploc bag
- 1 gallon Ziploc bag
Now, let’s chat a bit about these ingredients. The heavy cream or whipping cream is where all the creaminess comes from. It’s like the star of the show.
And that tablespoon of sugar? Well, it sweetens things up just right, but feel free to adjust it based on your taste buds. Maybe you like it sweeter, or perhaps you’re trying to cut back—totally up to you.
The vanilla extract adds that classic ice cream flavor that just feels like summer, doesn’t it? And don’t forget about the ice and salt! They’re essential for that magical freezing process.
I mean, without them, you’d just be shaking a bag of cream, and where’s the fun in that? So gather your ingredients, and let’s get ready to shake it up.
How to Make Ice Cream in a Bag

Alright, let’s plunge into the fun part—making our very own ice cream in a bag! This is one of those recipes that feels like magic in the kitchen, and I promise you’ll be amazed at how simple it is.
First things first, grab your 1/2 cup of heavy cream or whipping cream (whichever you have on hand; they’re basically interchangeable in this case). Pour it into your 1-quart Ziploc bag along with 1 tablespoon of sugar and 1/4 teaspoon of vanilla extract. Now, zip that bag up tight and give it a little shake to mix everything together. It’s like a mini workout, so feel free to channel your inner chef as you shake away.
Next up, let’s move on to the chilly part. You’ll need about 3 cups of ice cubes—yes, that’s right, we’re about to get frosty. Place the ice in your larger 1-gallon Ziploc bag, then sprinkle in 1/3 cup of salt. If you have rock salt, that works best, but regular table salt will do in a pinch. The salt is what helps lower the freezing point of the ice, making the whole process possible.
Now, take your small bag filled with the cream mixture and nestle it right in the middle of the ice and salt. Seal up the large bag, and this is where the fun begins. You’ll want to knead and shake that bag for about 10 minutes—yes, 10 minutes of shaking! It might feel like an eternity, but trust me, the transformation is worth it. Just think of it as a mini arm workout while you anticipate that sweet, creamy goodness.
Once your arms start to feel like jelly and the ice cream inside the small bag has thickened, it’s time to pull it out and indulge. Carefully remove the smaller bag from the ice, and wipe off any salty residue before you open it up.
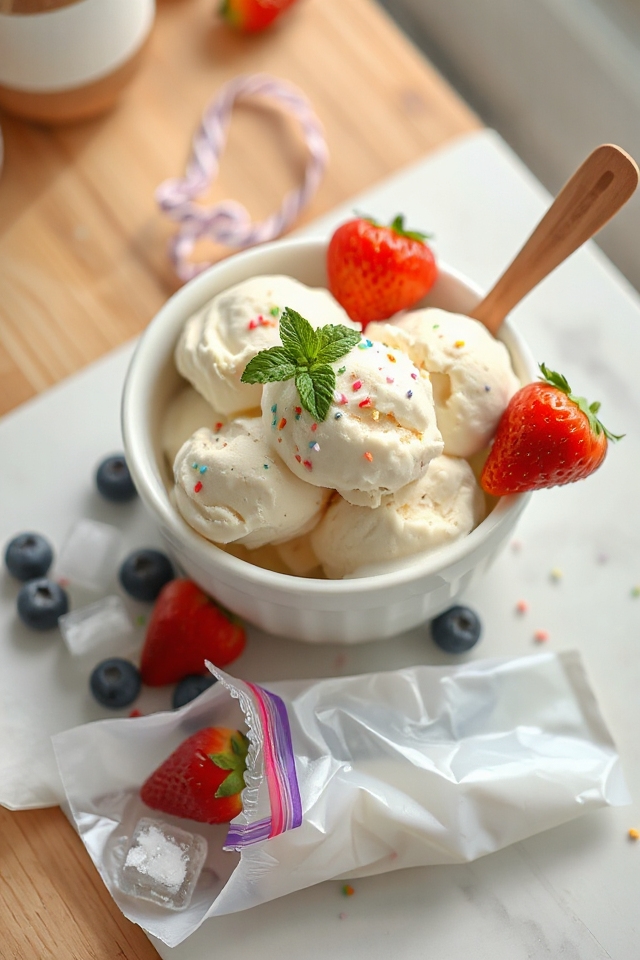
Now, you can either enjoy your ice cream straight from the bag (who can resist that?) or scoop it into a bowl for a fancy presentation. You may even want to top it with some sprinkles or fresh fruit if you’re feeling adventurous.
Ice Cream in a Bag Substitutions & Variations
While the classic ice cream in a bag recipe is delicious on its own, there are plenty of substitutions and variations to make it uniquely yours.
For a dairy-free option, I like using coconut cream instead of heavy cream. You can also swap the vanilla for almond extract or even mint for a revitalizing twist.
If you want to mix in flavors, try adding chocolate syrup, crushed cookies, or fresh fruit before sealing the small bag.
Feeling adventurous? Experiment with different sweeteners like honey or maple syrup.
The possibilities are endless, so have fun creating your perfect ice cream!
What to Serve with Ice Cream in a Bag
There’s something delightful about enjoying ice cream in a bag, and pairing it with the right accompaniments can elevate the experience even further.
I love serving my homemade ice cream with fresh berries; strawberries and blueberries add a burst of flavor and color. Crushed cookies, like Oreos or graham crackers, bring a fun crunch.
Drizzling chocolate or caramel sauce creates a decadent touch that’s hard to resist. If you’re feeling adventurous, try adding a sprinkle of sea salt or a dash of cinnamon for an unexpected twist.
These simple additions transform your ice cream into a delightful treat everyone will love!
Additional Tips & Notes
To make the most of your ice cream in a bag experience, I recommend a few handy tips.
First, make certain your bags are sealed tightly to prevent any leaks—trust me, you don’t want a mess!
Use rock salt for better ice cream consistency. If you like mix-ins, add them to the small bag before sealing.
Experiment with flavors by swapping vanilla for chocolate syrup or fruit puree.
If your ice cream isn’t thickening, keep shaking a bit longer.
Finally, enjoy your creation right away for the best texture, but it can be stored in the freezer for later indulgence!