Are you interested in learning how to build a soapbox cart?
This guide will walk you through the entire process, from selecting materials to final assembly.
What Is a Soapbox Cart?
A soapbox cart is a simple, homemade vehicle typically built for fun and racing events.
These carts are generally gravity-powered and can be designed in various shapes and sizes.
While they don’t require a motor, some skill and creativity go into building a fun and functional soapbox cart.
Why Build a Soapbox Cart?
Building a soapbox cart can be a rewarding project for many reasons:
- Creativity: You can design your cart to express your personality.
- Skill Development: You’ll learn hands-on skills such as woodworking and basic engineering.
- Family Bonding: It’s a fantastic project for families to work on together.
- Community Events: Many communities hold soapbox racing events, providing a great reason to compete and socialize.
How to Build a Soapbox Cart: Step-by-Step Guide
What Materials Do You Need?
When learning how to build a soapbox cart, gathering the right materials is essential. Here’s a list of what you’ll typically need:
- Wood: Plywood or hardwood for the frame and body.
- Wheels: At least four wheels; skateboard wheels are a popular choice.
- Axles: Pipes or wooden dowels to serve as axles for the wheels.
- Steering Mechanism: A simple steering wheel or rope system.
- Seat: A sturdy seat or platform to sit on while racing.
- Braking System: Simple brakes, like a stick or hand brake, for safety.
- Paint and Decorations: For personalizing your cart.
How to Design Your Soapbox Cart?
While you can find plans for soapbox cart designs online, you can also create your own!
- Sketch Your Design: Start by drawing the desired shape and size of your cart.
- Dimensions: Ensure the dimensions will fit safely for the intended rider.
- Weight Distribution: Design your cart with a balanced weight distribution for better handling.
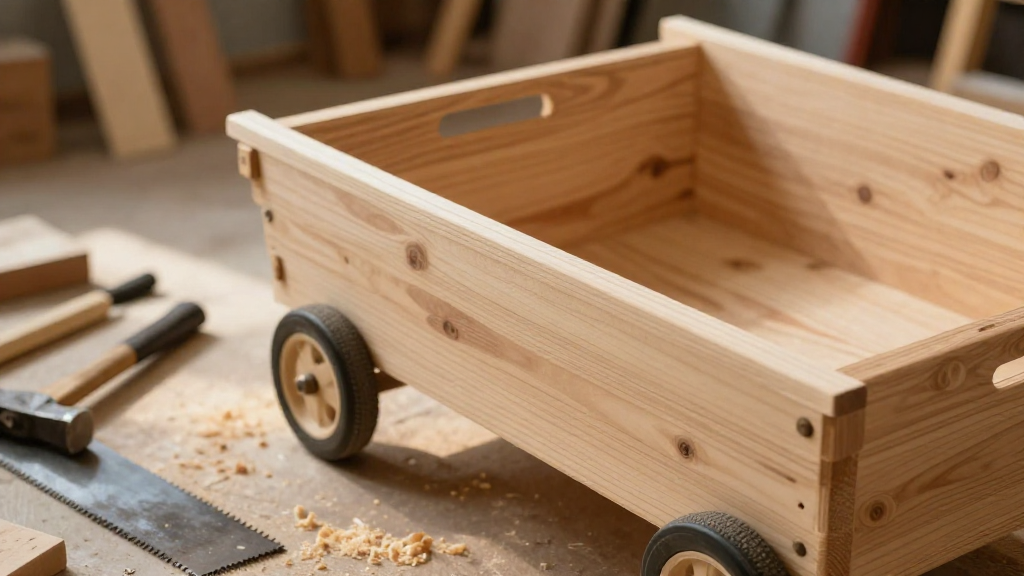
How to Build the Frame?
Once you’ve gathered your materials and designs, it’s time to start building! Follow these steps:
-
Cut the Wood: Follow your design and cut the wood pieces using a saw.
Ensure you wear safety gear! -
Assemble the Base: Create a rectangular base using your plywood pieces.
Use wood screws to attach the corners securely. -
Add the Sides: Attach vertical sidepieces to create the frame height.
This will support the seat and back of your cart. -
Reinforce: Use additional wood scraps to reinforce corners and joints.
This will add stability to your cart.
How to Attach the Wheels?
The wheels of your soapbox cart are crucial for its mobility. Here’s how to attach them:
-
Prepare the Axles: Measure and cut your axles to fit your design.
Make sure they extend slightly beyond the frame for wheel attachment. -
Drill Holes: Drill holes through the frame where you will insert the axles.
Ensure the holes are aligned for smooth wheel movement. -
Mount the Wheels: Slide the wheels onto the axles and secure them with washers and nuts.
If using skateboard wheels, ensure they rotate freely. -
Test Movement: Check the wheels’ movement by rolling the cart across a flat surface.
How to Install the Steering System?
A good steering system is essential for maneuverability. Here’s a simple way to create one:
-
Choose Your Steering Type: Use either a simple steering wheel or a rope-controlled system.
-
Attach the Steering Wheel: If using a steering wheel, mount it to the front axle with a vertical support.
Ensure that turning the wheel rotates the front wheels. -
Rope-Controlled Steering: For the rope system, secure a rope to the front wheels.
The rider can then pull on the ropes to steer the soapbox cart.
How to Create a Braking System?
Safety should always come first when learning how to build a soapbox cart:
-
Choose Your Brake Type: A simple handbrake can be made using a lever and block system.
-
Install the Brakes: Attach a lever within reach of the seat.
Connect it to the rear wheels using a sturdy cord or stick. -
Test the Brakes: Make sure they can easily slow down the cart and bring it to a stop.
How to Add the Final Touches?
Now that the cart is built, it’s time for the fun part! Here are some final touches to consider:
- Paint: Use bright, fun colors to make your soapbox cart stand out.
- Decorate: Add numbers, stickers, or decals to personalize your cart.
- Safety Gear: Don’t forget to wear helmets and pads during test runs!
How to Test Your Soapbox Cart?
Before you hit the race track, it’s essential to test your soapbox cart first:
- Safety Check: Ensure all components are secure and functional.
- Pilot Ride: Have someone sit in your cart and make sure it rolls smoothly.
- Speed Test: Roll down a gentle slope to see how it performs.
Where Can You Race Your Soapbox Cart?
Now that your soapbox cart is ready, where can you take it? Check out these options:
- Local Events: Many towns host soapbox racing events.
- Friends’ Streets: Find a safe, open area or hill for some friendly racing.
- Community Parks: Some parks have designated areas for racing and testing.
How to Maintain Your Soapbox Cart?
To keep your cart racing-ready, regular maintenance is important:
- Check the Wheels: Ensure they are still securely attached and rotating smoothly.
- Inspect the Frame: Make sure there are no cracks or damage.
- Store Safely: Keep it in a dry place when not in use to prevent wear.
Conclusion
Building a soapbox cart is a fantastic DIY project that combines creativity, engineering, and plenty of fun.
By following the steps outlined in this guide on how to build a soapbox cart, you can create a unique vehicle that reflects your style.
Whether racing against friends or enjoying a leisurely ride, your soapbox cart will provide endless enjoyment and adventure.
So assemble your materials, bring your ideas to life, and enjoy the thrill of building and racing your soapbox cart!